Email Address:
admin@achik.us achikahmed.info@gmail.com
Our Social Media Profiles:
Did you know that you can install Ubuntu on Android without root? Well, you can do it just by following some simple steps. In this article, I will share some simple steps to install and use Ubuntu on an Android phone without root.
Ubuntu is a powerful Linux-based computer operating system like Kali Linux. It’s free and open-source software that provides a simple and powerful platform to use cybersecurity, penetration testing, and Linux tools.
Ubuntu was officially released in 2004 by Mark Shuttleworth and a small team of Debian developers. Now Ubuntu is maintained by a British company named Canonical Ltd.
Ubuntu is used in computers and laptops, but with some tricks and using Android apps like Termux, you can also use it on your Android phone without even rooting.
As we will use the Termux app to install Ubuntu, let’s first understand what Termux is.
Termux is an Android application that provides a terminal where you can use Linux commands and tools. It’s like having a small mini Linux system on your phone. You can install and use many types of Linux tools on your Android phone using Termux.
Now, let’s see the requirements to install Ubuntu on an Android phone using Termux.
Before you can install Ubuntu on your phone, make sure that you have these requirements:
It sounds hard to install Ubuntu on an Android phone without even rooting, but you can do it using some simple steps. Below I have provided some simple steps to install Ubuntu on Android without root.
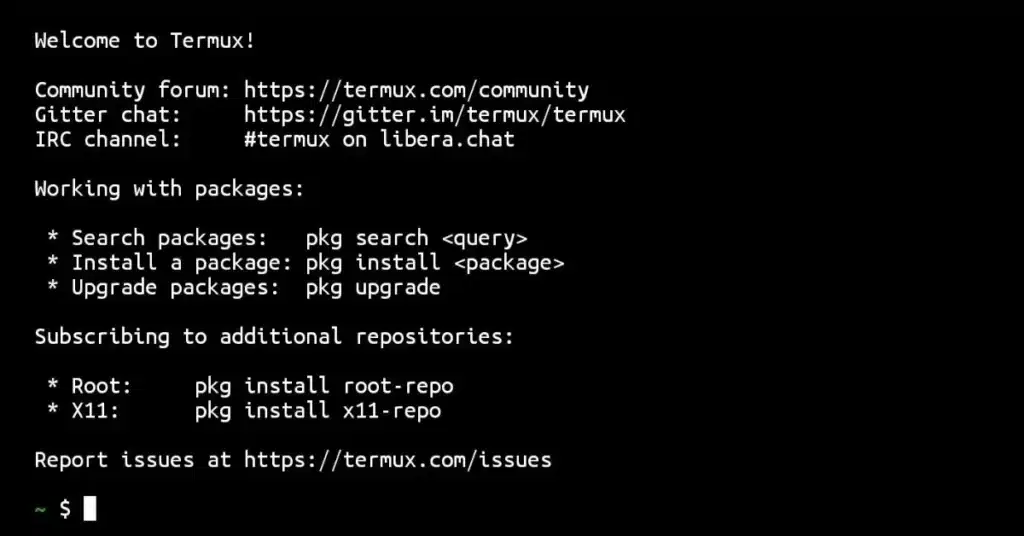
Step 1: Install Termux
First of all, you need to download and install the latest version of Termux APK from GitHub or from F-droid.
Step 2: Update Termux
Now open Termux, and you will see a black command line screen, here you need to run commands.
The first command you need to run is to update and upgrade Termux’s built-in packages.
apt update && apt upgrade -yThis command will update and upgrade Termux built-in packages. You can simply copy these commands and paste them into Termux.
Step 3: Install Required Packages
Now we will install some Linux packages that will help to install Ubuntu smoothly.
pkg install wget curl proot tar -yThis command will install some Linux packages to install Ubuntu in Termux.
Step 4: Download Ubuntu Installation Script
Now, download the Ubuntu Installation Script in Termux by running this command:
wget https://raw.githubusercontent.com/AndronixApp/AndronixOrigin/master/Installer/Ubuntu22/ubuntu22-xfce.sh -O ubuntu22-xfce.shThis command will download the Ubuntu Installation Script.
Step 5: Run Ubuntu Installation Script
Now run the Ubuntu Installation Script with this command:
chmod +x ubuntu22-xfce.sh && bash ubuntu22-xfce.shThis command will start the Ubuntu installation process, and it may take up to half an hour, depending on your internet speed.
Just enter the “press” button whenever it asks for set language or set timezone.
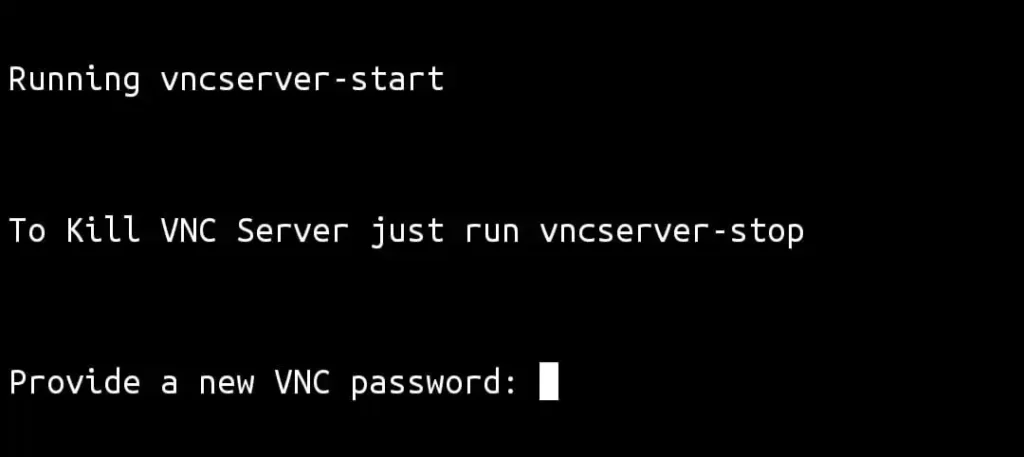
During the installation process, it will ask you to set a password for the VNC server, which is required to use Ubuntu in a GUI mode like a desktop. You can set any 6-digit password that you can easily remember.
Note: If the script gets stuck or stops during the installation process, then check our internet connection and run the installation script again.
Once the installation process is successfully complete, you will see a new screen starting with [root@localhost:~#].

This means you’re inside the Ubuntu environment, and Ubuntu is successfully installed on your Android phone. You can now use Ubuntu tools and commands.
If you want to start Ubuntu next time then open Termux and type:
./start-ubuntu22.shThis command will start Ubuntu again.
We have successfully installed Ubuntu on an Android phone, but in a command-line interface (CLI), which you can use by typing commands.
If you are comfortable with commands, you can use Ubuntu in CLI, but if you want to use Ubuntu in a graphical user interface where you can use Ubuntu like in a computer with buttons, graphics, and a mouse pointer, then you can follow these steps.
Step 1: Start Ubuntu
Open your Termux and run this command:
./start-ubuntu22.shThis command will start Ubuntu CLI mode.
Step 2: Start the VNC Server
Now run the following command to start VNC server for Ubuntu graphical interface:
vncserverThis command will start the VNC server to use Ubuntu graphical user interface.
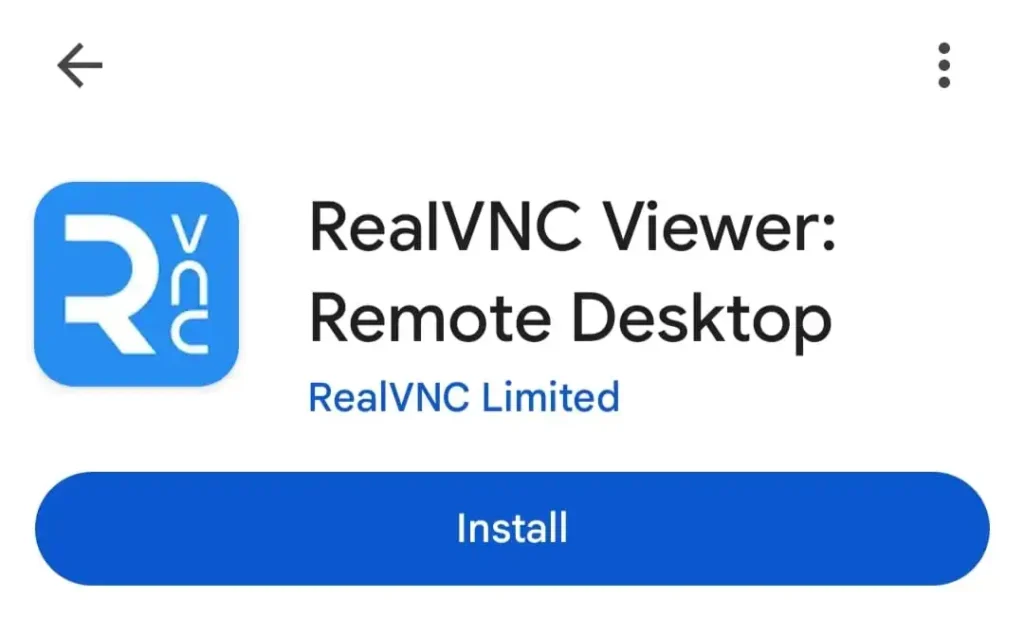
Step 3: Install VNC Viewer App
Now go to the Google Play Store and install VNC viewer application.
Step 4: Start Ubuntu GUI
Open the VNC viewer app and tap “+” icon on the right bottom to add a new connection.
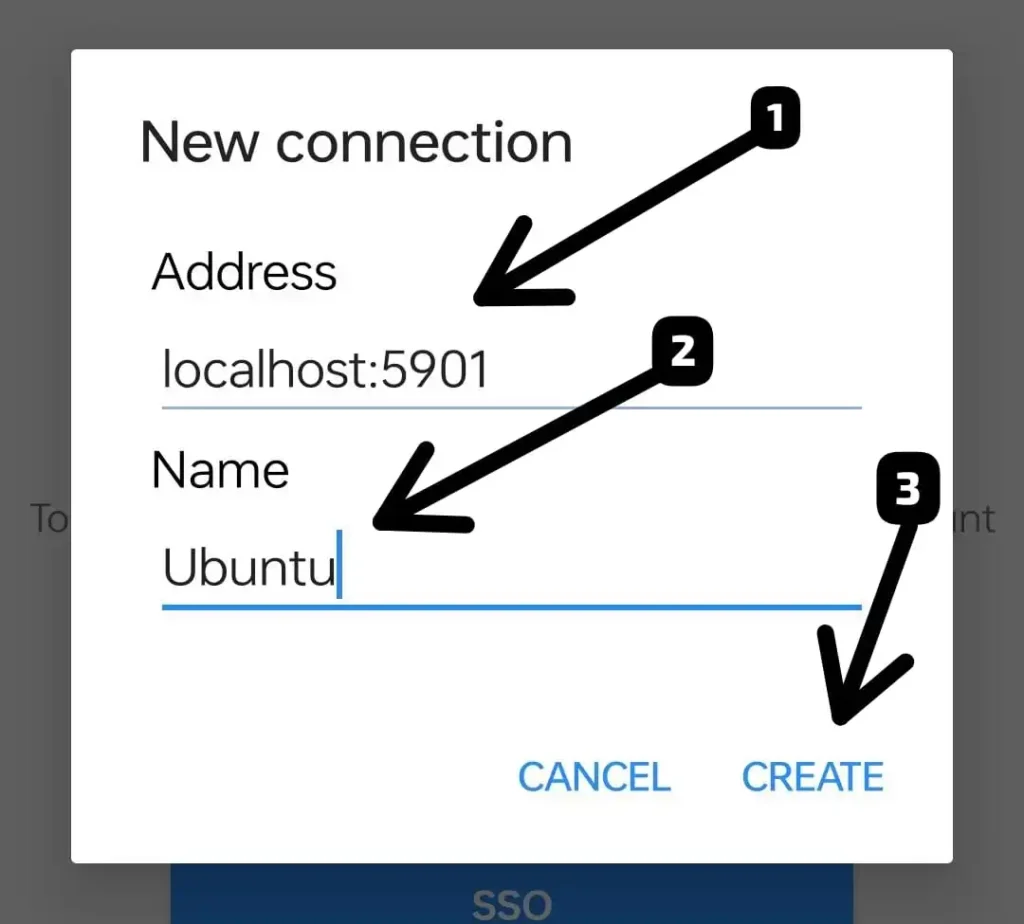
Now click on the “Create” button, tap “Connect“. It will ask for the password — Enter the password that you set during the Ubuntu Installation process and then click “Continue“.
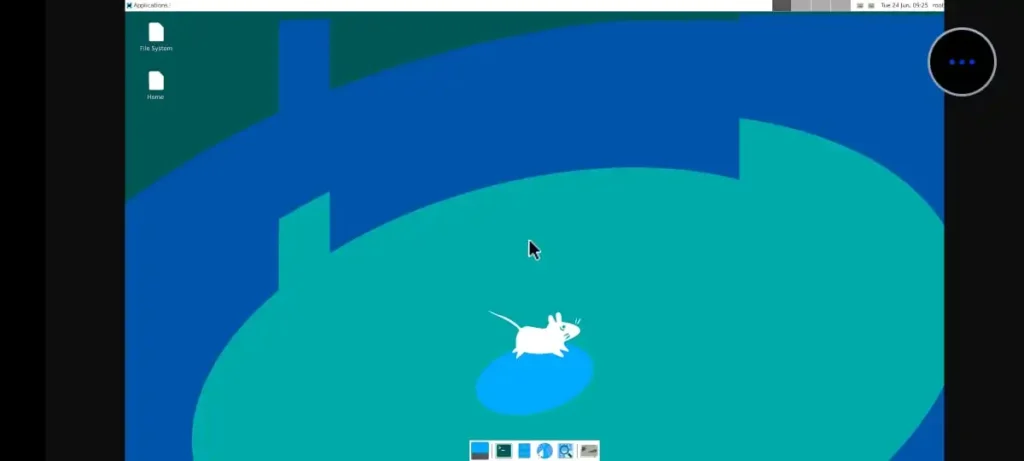
Here you can see a desktop-like screen of Ubuntu on your Android phone.
If you are done using Ubuntu GUI and want to stop the VNC server, then open Termux and run this command:
vncserver -kill :1This command will stop the vnc server.
Exit Ubuntu (Optional)
If you want to completely stop Ubuntu, then run this command:
exitThis command will take you from the Ubuntu CLI back to Termux.
Next time you want to use Ubuntu with the desktop (GUI), just follow these 4 steps:
./start-ubuntu22.shvncserverIf you want to uninstall Ubuntu and delete every file related to Ubuntu from your Android phone, then open Termux and run the following command:
rm -rf ubuntu22-fs ubuntu22-binds start-ubuntu22.sh ubuntu22-xfce.shThis command will delete everything related to Ubuntu from your phone.
Ubuntu on an Android phone Sounds tricky, but you can easily install and use it even without rooting your Android phone just by following some steps.
In this article, I have explained step-by-step how to install and use Ubuntu on Android without root. I have also provided some simple steps to use Ubuntu GUI on Android like a desktop.